Enhance Your Fence Project with Fence Brackets

Fence brackets are essential accessories that can streamline the installation process and improve the stability and longevity of your fence. Whether you're building a new fence or repairing an existing one, understanding how to use fence brackets effectively is key to achieving professional-looking results. In this blog, we'll explore the benefits of fence brackets and provide a step-by-step guide on how to use them for your UK fencing project.
Benefits of Fence Brackets
Before we dive into the practical aspects of using fence brackets, let's first understand why they're worth incorporating into your fencing project:
-
Enhanced Stability: Fence brackets provide additional support and stability to your fence panels, reducing the risk of sagging or leaning over time.
-
Easy Installation: By securing fence panels to posts with brackets, you can simplify the installation process and ensure uniform spacing and alignment.
-
Improved Durability: Brackets help to distribute weight evenly across the fence structure, reducing stress on individual components and extending the lifespan of your fence.
-
Versatility: Fence brackets come in various designs and sizes to accommodate different types of fences and posts, offering flexibility and adaptability to your project requirements.

How to Use Fence Brackets: A Step-by-Step Guide
Now let's walk through the process of using fence brackets to install or repair a fence:
Step 1: Gather Your Materials Before you begin, ensure you have all the necessary materials and tools on hand, including fence panels, fence posts, fence brackets, screws or nails, a spirit level, and a drill or screwdriver.
Step 2: Position the Fence Panels Start by positioning your fence panels between the fence posts at the desired height and spacing. Use a spirit level to ensure the panels are level and plumb.
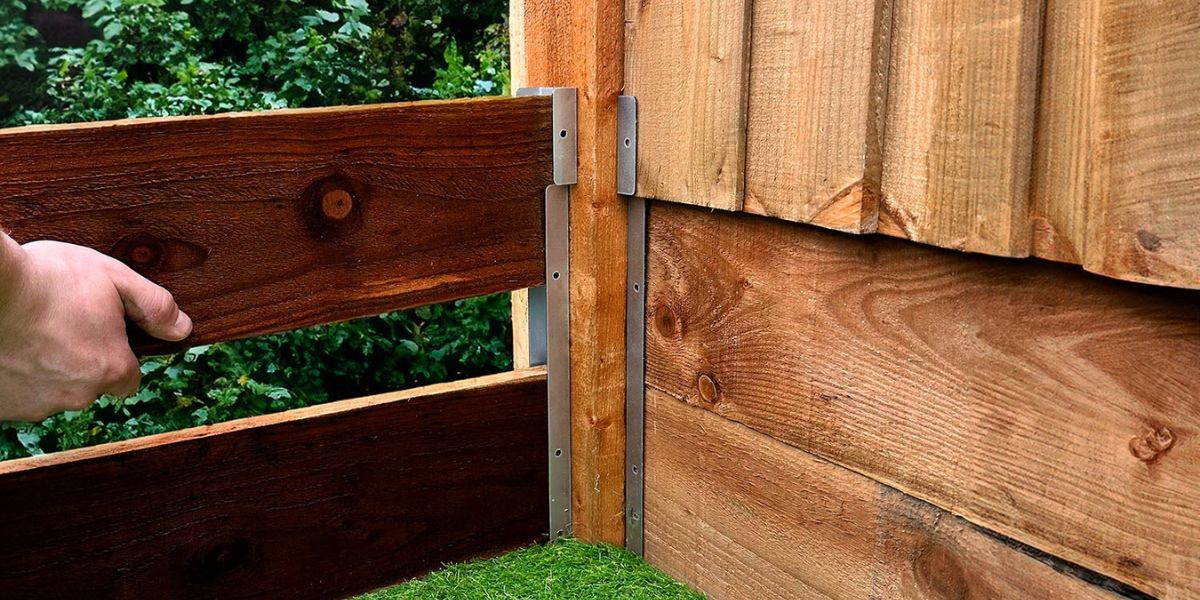
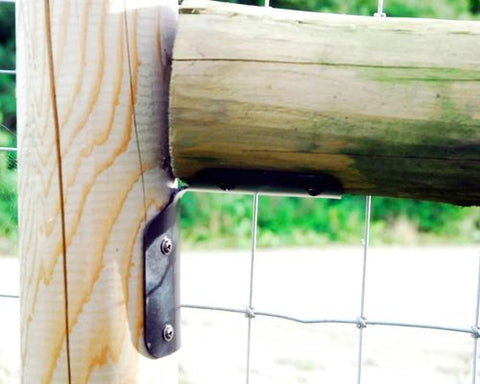
Step 3: Attach the Brackets With the fence panels in place, align the fence brackets with the edges of the panels and the posts. Secure the brackets to the posts using screws or nails, ensuring they are firmly attached.

Step 4: Secure the Panels Once the brackets are in place, attach the fence panels to the brackets using screws or nails. Be sure to space the fasteners evenly along the top and bottom edges of the panels for optimal support.
Step 5: Repeat the Process Continue attaching fence panels and brackets along the length of the fence, ensuring consistent spacing and alignment between panels.
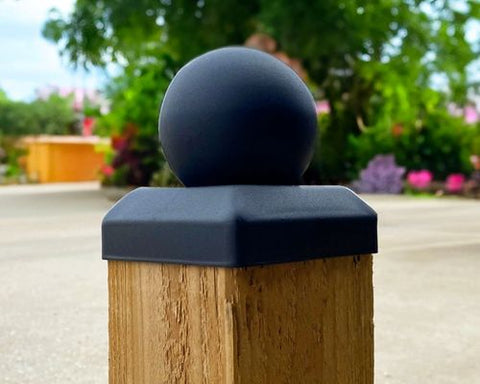
Step 6: Finishing Touches Once all the panels are securely attached, double-check the alignment and stability of the fence. Make any necessary adjustments and add post caps or decorative elements to finish the project.

Conclusion
Using fence brackets is a simple yet effective way to enhance the stability, durability, and overall appearance of your fence. By following these steps and incorporating fence brackets into your fencing project, you can achieve professional-quality results that will stand the test of time. Whether you're installing a new fence or repairing an existing one, don't overlook the importance of using fence brackets for a sturdy and long-lasting fence solution.


