Growing Microgreens
 Unlock the Magic of Microgreens: A Guide to Growing Miniature Marvels
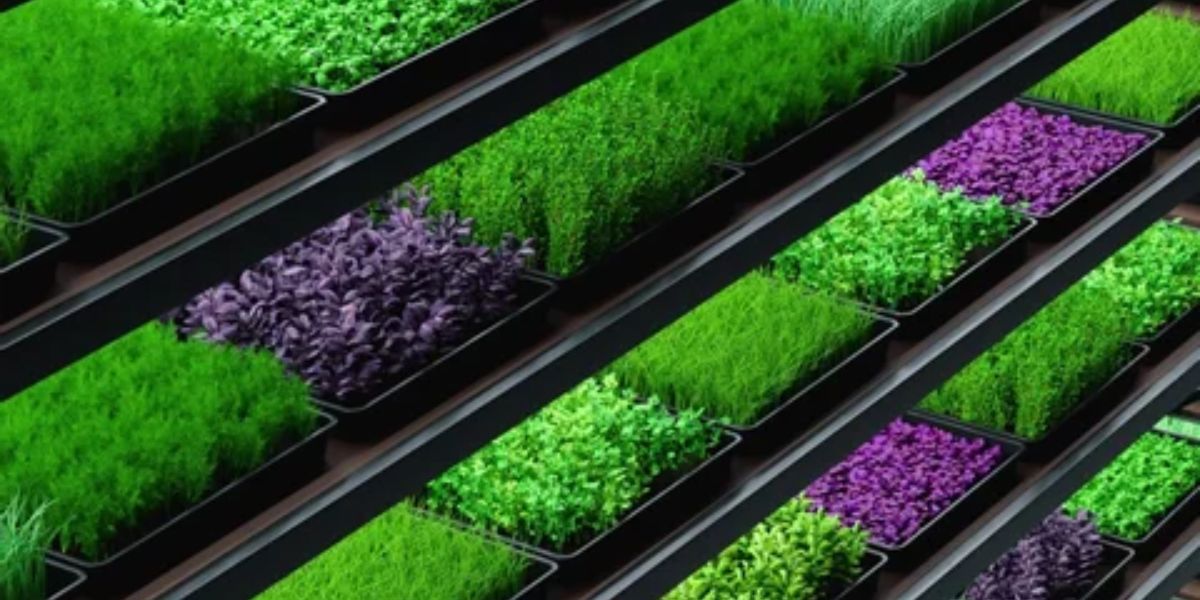
In recent years, microgreens have taken the culinary world by storm, gracing plates in restaurants and homes with their vibrant colours, intense flavours, and nutritional benefits. These tiny but mighty greens are not only delicious but also easy to grow, making them a perfect addition to any kitchen garden. In this blog, we'll delve into the world of microgreens and share everything you need to know to grow your own miniature marvels in the UK.
What are Microgreens?
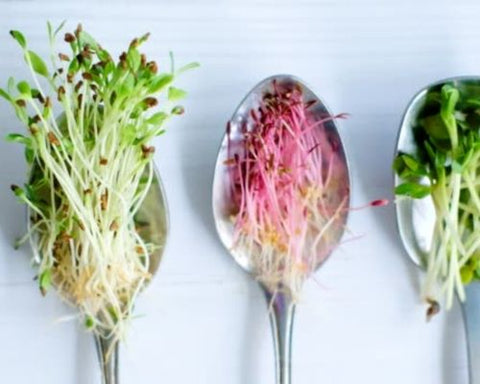
Microgreens are young, edible greens harvested at an early stage of growth, typically when they have developed their first true leaves. They are bursting with flavour and packed with nutrients, making them a popular choice for garnishing salads, sandwiches, soups, and more.

Why Grow Microgreens?
There are numerous reasons to grow microgreens at home. Not only are they incredibly easy and quick to grow, but they also require minimal space, making them perfect for urban dwellers or anyone with limited gardening space. Additionally, microgreens offer a cost-effective way to enjoy fresh greens year-round, right from your own kitchen.
Getting Started
To grow microgreens, you'll need a few basic supplies:
- Seeds: Choose high-quality seeds specifically labelled for microgreens, such as radish, kale, arugula, or broccoli.
- Growing medium: Opt for a sterile, soilless growing medium like potting mix or coco coir.
- Containers: Use shallow trays or flats with drainage holes to hold the growing medium.
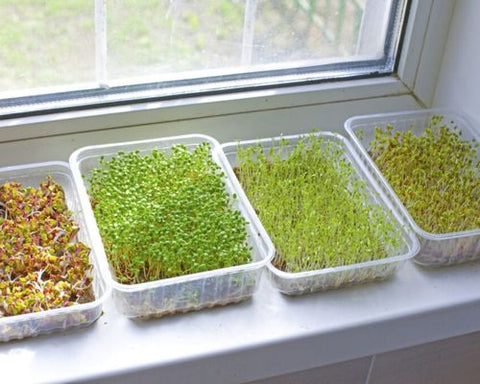
- Light: Microgreens require plenty of light to grow, so place them in a sunny windowsill or under grow lights.
The Growing Process
- Fill your containers with the growing medium, moisten it thoroughly, and spread the seeds evenly across the surface.
- Gently press the seeds into the soil and cover them with a thin layer of growing medium.
- Place the containers in a warm, sunny location or under grow lights.
- Keep the soil consistently moist but not waterlogged, and avoid overwatering to prevent mould or fungal growth.
- Within a week or two, your microgreens will begin to sprout. Once they develop their first true leaves, they are ready to harvest.

Harvesting and Enjoying
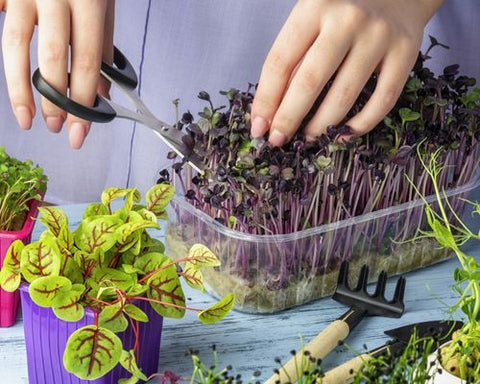
To harvest microgreens, simply snip them just above the soil line with sharp scissors or a knife. Rinse them gently to remove any soil or debris, and they're ready to enjoy! Add them to salads, sandwiches, wraps, or smoothies for an extra burst of flavour and nutrition.
Experiment and Have Fun
One of the best things about growing microgreens is the opportunity to experiment with different varieties and flavours. Try mixing and matching different seeds to create your own unique blends, or explore new recipes and culinary creations inspired by your homegrown harvest.

Conclusion
Growing microgreens is a rewarding and enjoyable experience that allows you to enjoy fresh, nutritious greens right from your own home. With minimal time, space, and effort, you can cultivate a bountiful harvest of miniature marvels that will delight your taste buds and enhance your culinary adventures. So, why not unlock the magic of microgreens and start growing your own vibrant greens today?


